The first part that we did in this lesson was to open up the Cinema 4D programme and to open up the link for the cream box, were we applied a render view to the design, to create a clearer view, once we had done this we were then shown how to create a new document, which was using the letters on the keyboard cmd + n. We then clicked on the cube option, which created a cube on the screen within the programme, we noticed that if we held down on this option we were then able to see the different shapes that we wanted to use within the programme of Cinema 4D.


Once we had then looked at these tool, we were told to look at the camera, which we played around with to look at the different angles of the box. After I had looked at the camera, I found that this tool was quite easy to use because it allowed me to look at the cream box from different angles and views, but not only that in more and less detail. I found that after I had used the camera I wasn't sure how to get back to the angle of the camera that we started with, so we were told that if you put the Coordinates point to 0, it would then put the camera back to the right angle. I then looked at other tools that, which I could then use for the Box. The first tool that I looked at was how to move the object and he key that we used on the keyboard would be the letter e, once I had clicked on this letter I then was able to click on the box and move the object around the screen. The next tool was how to rotate the object, the letter on the keyboard that I was told to use for this action was r, this then allowed me to rotate the object that I had selected on the screen. The next tool that I was to shown to use for this part was how to scale the object, where I used the letter t on my keyboard. This then allowed me to change the scale of the object to either a small object or a larger object.

Once we had used these tool, we then moved on to learn about how to change the movement of the box, where the box bends from its normal shape to where the design bends forward. The first part that we had to do for this task was to add a bend to the box that we had been given to experiment with, this tool would then allow the box to move. Once I had added a bend to the design, I then had to change the strength of the movement and the other optioned segments x, y and z, so that this would allow me to change the object so that the design would bend in a certain way, to do this I had to move the timeline to 0 and make sure that all the segments where at 0, so that the box would be still, I then had to select the end of the timeline to 100, where I was then able to change the segments and the strength of the movement from 0 to beyond, I did this action because it then allowed the box to bend and move. Once we had done this we then had to use a tool called the Cloner, which I could find under the option Mo Graph. We used this tool because it create a clone of the box that we were experimenting with, as this then created a stack of box above each other. However, I had to change the option from linear to radial, which then allowed the stack of boxes from a straight line to a circle. Although when using this tool I had to make sure that the tool settings were correct, which were the count and the radius.


Before we moved onto the next task we looked at the tool known as the Spline tool, which allowed me to draw a line using a pen like tool, which allowed the design to connect together.

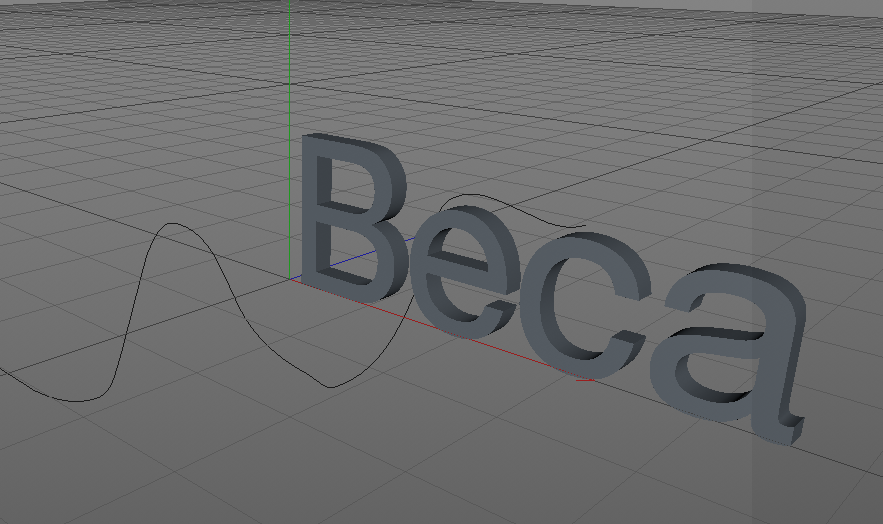
The next task that we did in this process and production lesson was to create a word or my name using several different tools, I found that this task was quite fun because it was a little different to the task before, this would then allow me to expand on the skills that I had just learnt about using Cinema 4D. I found the process and production, very fun and different so far because it was something that I hadn't used before, however I still think that the software that I have started to look at was a little difficult because I hadn't used the programme before. To create my name I used the text tool on the screen, which allowed to me to write my name on the screen, however once I had written my name on the screen I was then able to make the design into a 4D design. The tool that I had to use to do this was the Extrude tool, which allowed me to change the text of my name from a blank piece of text to something that was 4D. Because my text looked 3D a didn't look very professional the final tool that I used for this task was the fillet tool, which allowed me to create a rounded edge, which made the name that I had created into a 4D object.


We then moved onto look at another task that we had been given, which was a box, where we would be able to change the lighting of to get a better lightning angle, so that the detail in the design would stand out and be easily seen by the target audience that we were aiming at, the light settings that we had to look at were the fill light, the key light and the back light, these lightning settings were used to create a drop shadow on the box that we were experimenting with. Another task that we looked at was the lightning in the scene where there was box and a tree, which allowed me to look at the design in more detail.


The next part that we did in this process and production lesson was to look at the render settings that we usually use to render the frames, we firstly looked at render to a picture viewer, which allowed me to render my design, which I could then be able to save as a picture. We also looked at edit render settings, which allowed me to look at change the render settings so that the design would be render into a professional and creative design. The last part that we did for this section was to look at the render view, which renders the currently active view. I thought that these render settings would be better than using quicktime for rendering my design.

The final part that we created for this process and production lesson, was a little animation that looked like sheets of paper floating out of the floor, I thought that this task was really cool and fun, however I did find that this task was very difficult and hard. Furthermore, I found that need quite a bit of help on this task because again I found it was difficult and hard to understand the tools that we used to create this design. Overall, I am happy with how this final process and production lesson with Stephen went, I think that using cinema 4D has allowed me to expand on my animation and design skills that I am learning and I have learnt within this lesson.